
Tips
How to prepare for window installation day: Your checklist
Getting started
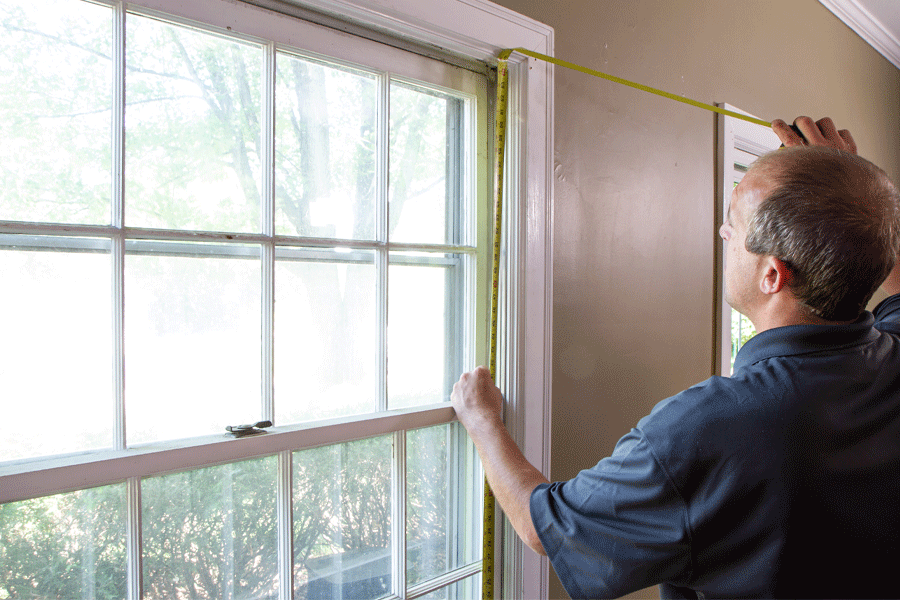
Before you start, you’ll want to gather a tape measure, pen, and paper. It can be useful to have a helper too, especially if you have large windows.
Tip: To help you track dimensions and make other necessary assessments, download one of our measurement guides, like this one for the 400 Series.
You also need to understand a few different parts of a window before taking measurements. These include:
- Jamb: The pieces forming the top and vertical sides of a window or door frame.
- Head (or head jamb): The horizontal piece forming the top of a window or door frame.
- Sill: The horizontal piece forming the bottom of the window or door frame. Here’s the equipment you’ll need:
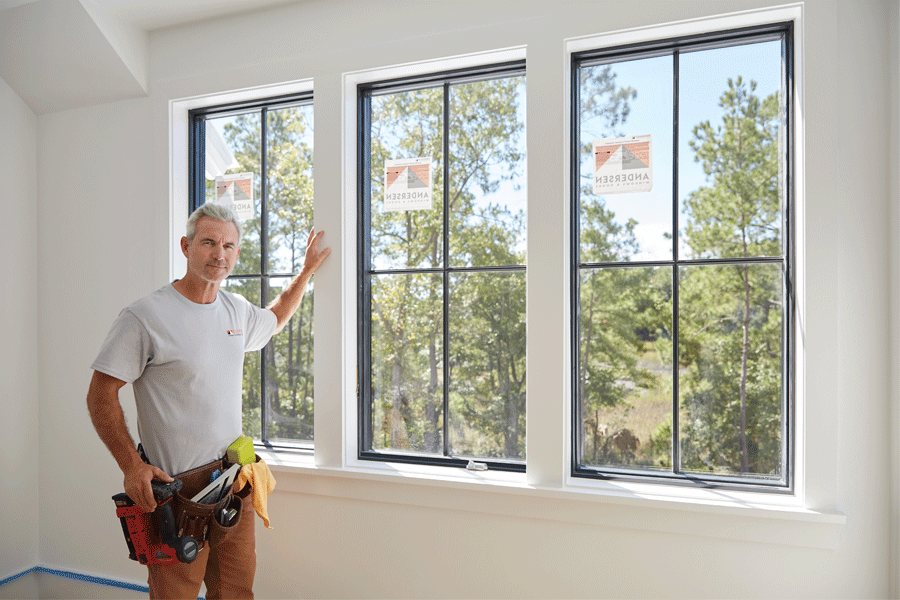
1. Contact your contractor a few days prior to installation day
No matter how well-prepared you feel, it’s always possible to overlook something important in this process. Reaching out to your contractor ahead of installation day will help make sure everyone is on the same page and avoid misunderstandings and unnecessary stress.
Here are a few items you’ll want to go over:
- Ask how long they expect the window installation to take and whether it will be a multi-day process.
- Confirm whether they will be installing windows from the outside, inside, or both, so you can prepare appropriately.
- Finally, it doesn’t hurt to double-check that you both have the same installation date marked on your calendars.
2. Remove blinds, curtains, and alarms
According to contractors, these cause the biggest delays. Blinds can take hours to remove, and window alarms will need to be removed before new windows are installed. Sometimes, it’s best to get your security company to help with disconnecting alarms.
3. Clear space around windows
Although it varies by project, you should allow about 5 feet of clear space around your windows. Carve out time ahead of installation day to move any furniture that might be in the way, particularly if you have a piano or antiques that require more care to move.
4. Cover furnishings
Installing new windows generates dust. Taking a couple of proactive steps will make cleanup a little easier. Cover beds, couches, and other furnishings with a drop cloth or old sheet, and remove pictures from the wall.
5. Create a plan for kids, pets, and life at home
Your home is going to be a work zone. There will be dust and noise. You’ll want to make sure you have safe spots identified so kids and pets are away from the activity. Work with your contractor on a plan so the days are less disruptive.

6. Clear the outside space around windows
Windows can be installed from either the inside or outside. If your windows are being installed from the outside, your contractor will need to access the area under your windows. Trim your shrubs and remove any lawn furniture or decor to provide a few feet of clearance around the windows.
7. Schedule a walk-through with your contractor
Plan time with your contractor to look over finished work to make sure everything was completed as planned. This will also give you the opportunity to learn how your new windows work how to clean them, take out insect screens, etc.) and ask questions that could prevent issues in the future.

Still have questions? We’ve got answers to more of your frequently asked questions below.
FAQs about window installation
How long does it take to install new windows?
It will depend on your home, but typically a full-frame replacement window (as opposed to an insert replacement) on a ground level takes 4 to 6 hours. Upper-story windows will take longer. This is why we recommend asking your contractor about the project timeline ahead of time.
Do window installers clean the windows?
New windows from Andersen come clean and protected by a film that’s applied at the factory. After your contractor installs your new windows, they’ll remove the film to reveal your sparkling clean new windows.
Do windows get installed from inside or outside?
Windows can be installed from either the inside or the outside. Your contractor will be able to assess the situation and make a recommendation about which type of installation makes sense in your home. This is a determination they will have to make prior to ordering your new windows. Make sure you’re aware of the installation plan before installation day so you can prepare appropriately — whether that means removing window coverings or trimming shrubs outdoors.
Does replacing windows ruin walls?
No. A good window contractor knows how to install windows without damaging the surrounding wall. However, there are cases where existing damage is discovered in the course of a window installation. For example, when a contractor removes the old window, they might discover rotted wood or water damage. When an unwelcome discovery like this occurs, your contractor should be able to advise you on the best course of action — even if it means pausing installation to properly address the underlying damage.
Ready to learn more about living with your new windows? We’ve got expert cleaning and maintenance advice.