Inside a real-life Pivot Door installation
A modern floor plan
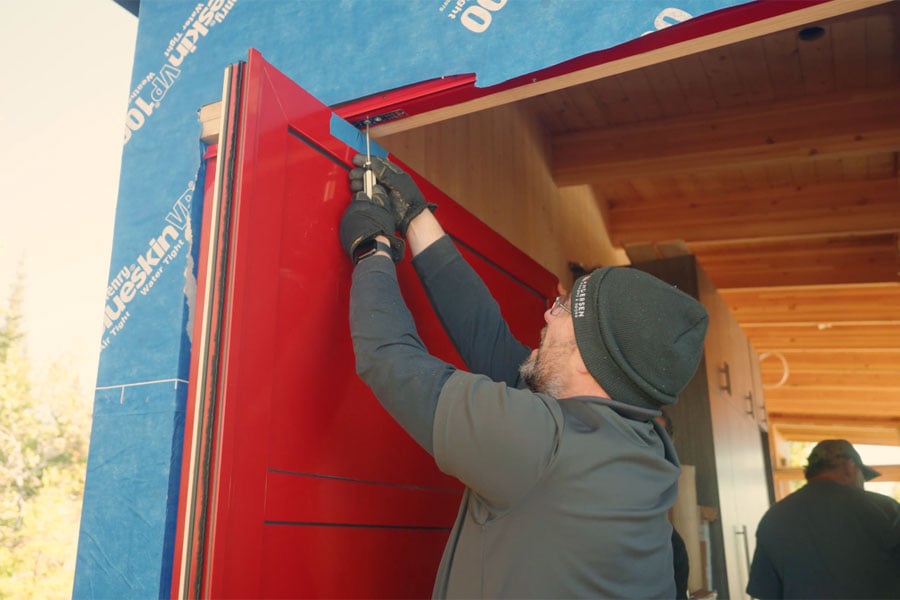
Every install is different, and that’s certainly the case with the one you’re about to watch. Andersen Territory Service Managers Kevin Forrest and Brad Trampe will walk you through some of the steps involved in installing a Pivot Door, explain the finite adjustments built into the door, and share some helpful tips.
Pre-install tip: Finish floors first
A Pivot Door installation begins with dry fitting the frame to determine where sub sill components should go, including the closer box and the high-performance sill used here. (Pivot Doors can also be installed without a sill, but that wasn’t a good option for this Minnesota home, which needs the water penetration resistance provided by the sill.)
The closer box, which is what allows the door to rotate, should be level with the finish floor and the bottom of the sill. It’s important to determine the location of the closer box as precisely as possible before installing. Once it’s properly located, finite adjustments can be made.
Finite adjustment
Here’s what’s controlled by the finite adjustments built into the closer box:
- Power: How hard the door pulls closed.
- Speed: How fast the door goes from fully open to fully closed — 5 to 7 seconds is ideal.
- Offset: How tightly the door closes. It can go 2 degrees tighter both in and out.
- Height: How high or low the door is raised within the frame.
Finite lateral adjustment is also possible using the pin system, which connects the door to the closer box and the top jamb. Lateral adjustment can help fine tune the reveals between the door and the frame.
Pro installation tips
Here are a couple of tips you’ll want to remember when installing a Pivot Door:
- Install the threshold plate over the closer box before installing the door. The other plates can be installed easily after the door is in, but this one is more challenging because it sits underneath the door.
- Use painter’s tape and an arrow to mark where the pin will insert into the top of the door before installing. Once the door is upright for install, you won’t be able to see where the pin goes.
- The pins can be raised and lowered within the frame. It’s easiest to raise the top pin, set the bottom of the door onto the closer box pin, and then lower the top pin from the frame into the door.
- Weatherstripping may get compressed during shipping. It will expand back to its original shape with time. Keep this in mind if there is daylight showing through after install.
- Due to various installation techniques and substrates, fasteners to secure the frame to the rough opening are not provided with the door. Fasteners should be selected based on local building code and construction substrate. Find information about which type of fastener works best with which substrate in the installation instructions.